Table Of Contents
Gallery
This gallery lets you explore the many examples included with Kivy. Click on any screenshot to see the code.
This gallery contains:
Examples from the examples/ directory that show specific capabilities of different libraries and features of Kivy.
Demonstrations from the examples/demos/ directory that explore many of Kivy’s abilities.
There are more Kivy programs elsewhere:
Tutorials walks through the development of complete Kivy applications.
Unit tests found in the source code under the subdirectory kivy/tests/ can also be useful.
We hope your journey into learning Kivy is exciting and fun!
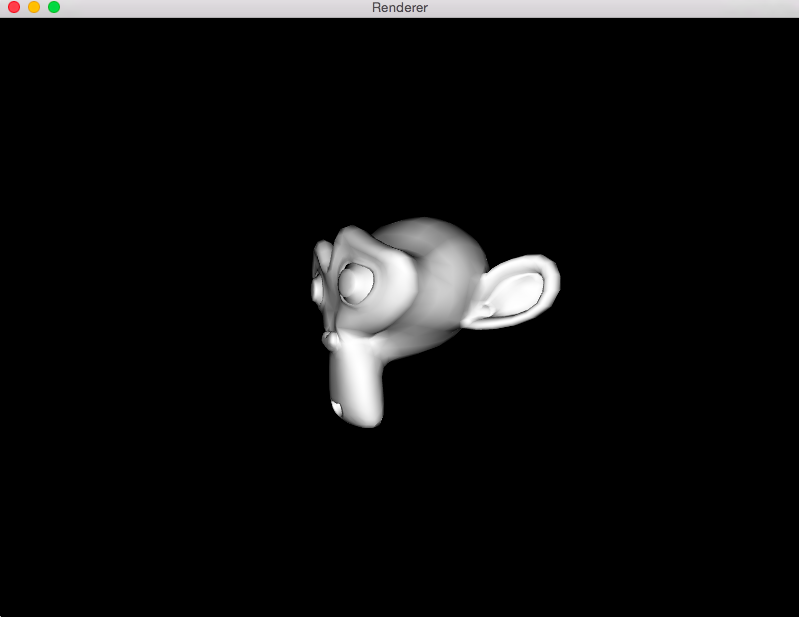
3D Rotating Monkey Head
This example demonstrates using OpenGL to display a rotating monkey head. This includes loading a Blender OBJ file, shaders written in OpenGL’s Shading Language (GLSL), and using scheduled callbacks. The monkey.obj file is an OBJ file output from the Blender free 3D creation software. The file is text, listing vertices and faces and is loaded using a class in the file objloader.py. The file simple.glsl is a simple vertex and fragment shader written in GLSL. |
|
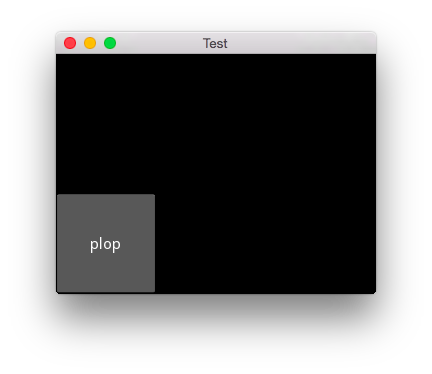
Widget animation
This example demonstrates creating and applying a multi-part animation to a button widget. You should see a button labelled ‘plop’ that will move with an animation when clicked. |
|
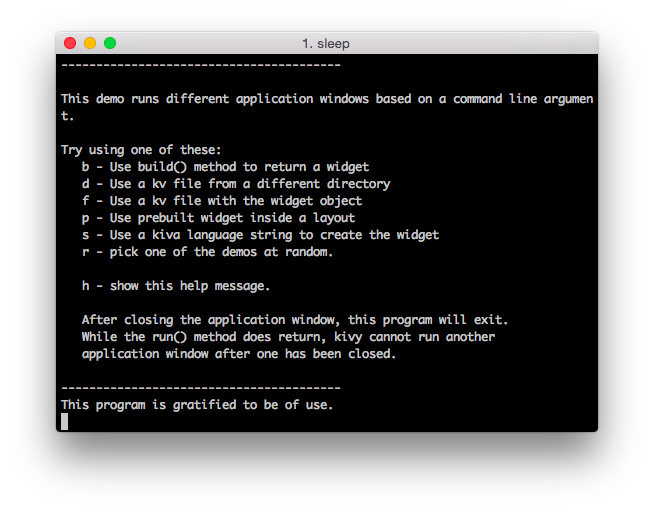
Suite of Application Builders
This explores different methods of starting an application. If you run this without a command line parameter, you should see a menu in your terminal. You can also run this with a ‘r’ parameter to pick a random method. There are lots of logging options to make this easier to debug: the execution order may not be obvious. Each time you run the command, only one kivy application is created. This uses the file testkvfile.kv and the file app_suite_data/testkvdir.kv. |
|
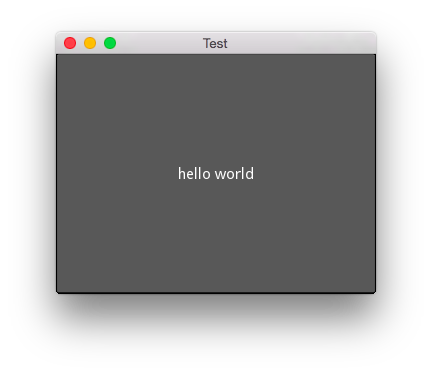
Application example using build() + return
An application can be built if you return a widget on build(), or if you set self.root. |
|
Application built from a .kv file
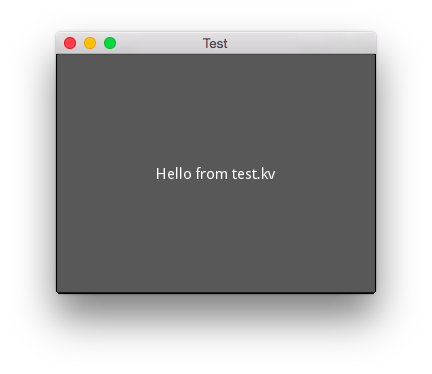
This shows how to implicitly use a .kv file for your application. You should see a full screen button labelled “Hello from test.kv”. After Kivy instantiates a subclass of App, it implicitly searches for a .kv file. The file test.kv is selected because the name of the subclass of App is TestApp, which implies that kivy should try to load “test.kv”. That file contains a root Widget. |
|
Application from a .kv in a Template Directory
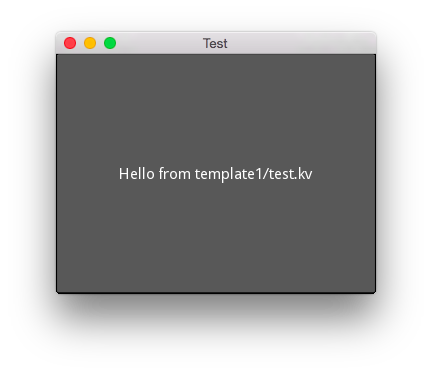
This example shows how you can change the directory for the .kv file. You should see “Hello from template1/test.ky” as a button. As kivy instantiates the TestApp subclass of App, the variable kv_directory is set. Kivy then implicitly searches for a .kv file matching the name of the subclass in that directory, finding the file template1/test.kv. That file contains the root widget. |
|
Camera Example
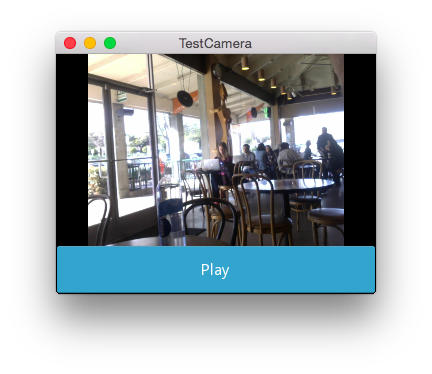
This example demonstrates a simple use of the camera. It shows a window with a buttoned labelled ‘play’ to turn the camera on and off. Note that not finding a camera, perhaps because gstreamer is not installed, will throw an exception during the kv language processing. |
|
Bezier Example
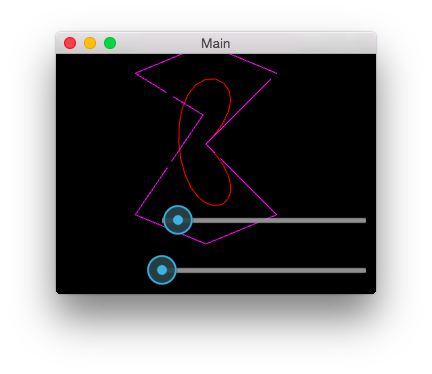
This example shows a closed Bezier curve computed from a polygon. You should see a purple polygon, a red bezier curve computed from the polygon, and two sliders. You can drag points on the polygon to recompute the curve. The two sliders control the dash length of the dashed lines making up the two shapes. |
|
Canvas stress
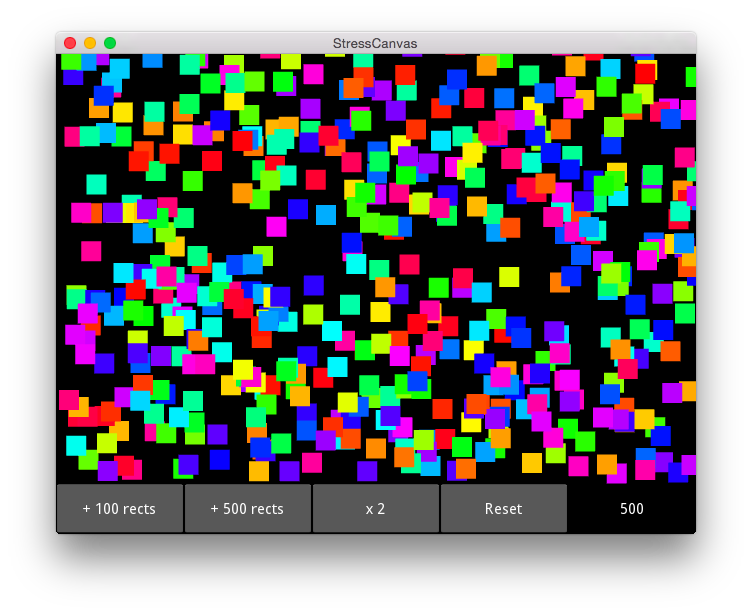
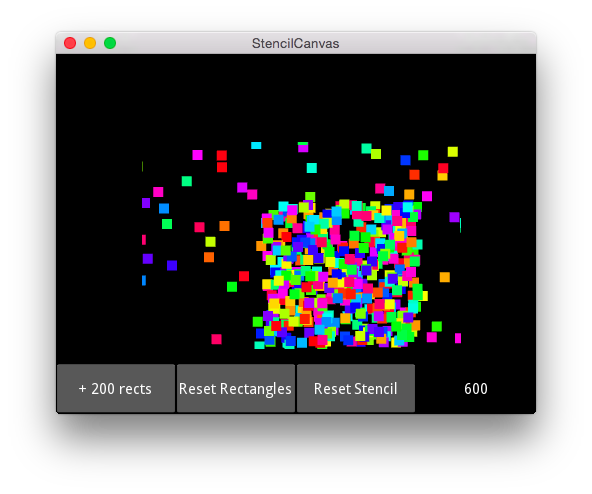
This example tests the performance of our Graphics engine by drawing large numbers of small squares. You should see a black canvas with buttons and a label at the bottom. Pressing the buttons adds small colored squares to the canvas. |
|
Circle Example
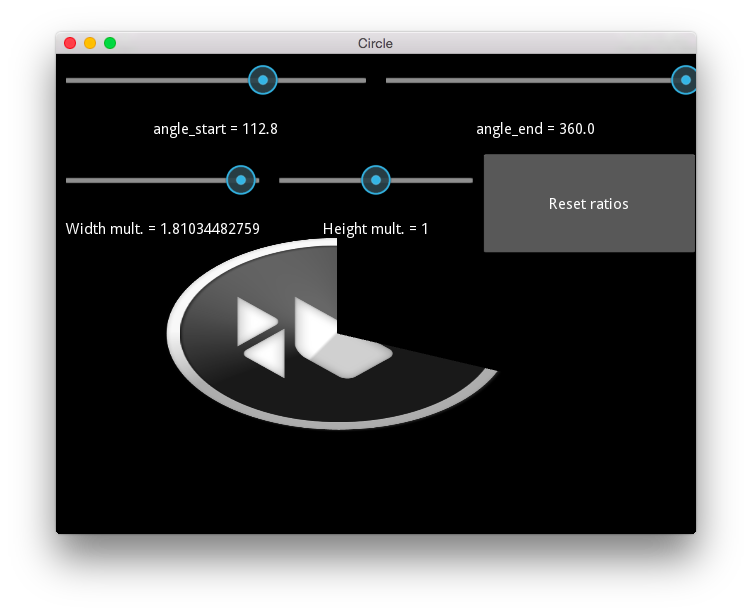
This example exercises circle (ellipse) drawing. You should see sliders at the top of the screen with the Kivy logo below it. The sliders control the angle start and stop and the height and width scales. There is a button to reset the sliders. The logo used for the circle’s background image is from the kivy/data directory. The entire example is coded in the kv language description. |
|
FBO Canvas
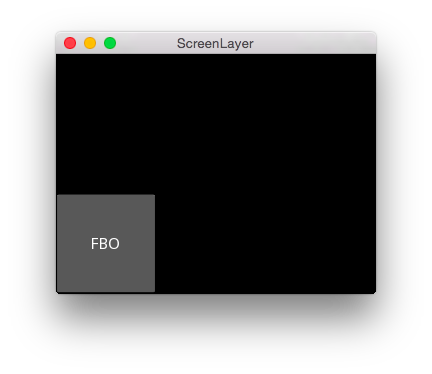
This demonstrates a layout using an FBO (Frame Buffer Off-screen) instead of a plain canvas. You should see a black canvas with a button labelled ‘FBO’ in the bottom left corner. Clicking it animates the button moving right to left. |
|
Line (SmoothLine) Experiment
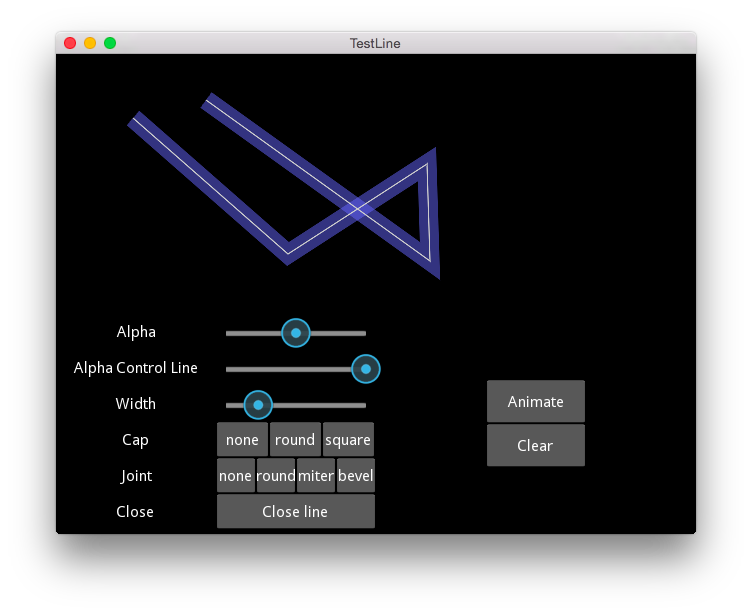
This demonstrates the experimental and unfinished SmoothLine feature for fast line drawing. You should see a multi-segment path at the top of the screen, and sliders and buttons along the bottom. You can click to add new points to the segment, change the transparency and width of the line, or hit ‘Animate’ to see a set of sine and cosine animations. The Cap and Joint buttons don’t work: SmoothLine has not implemented these features yet. |
|
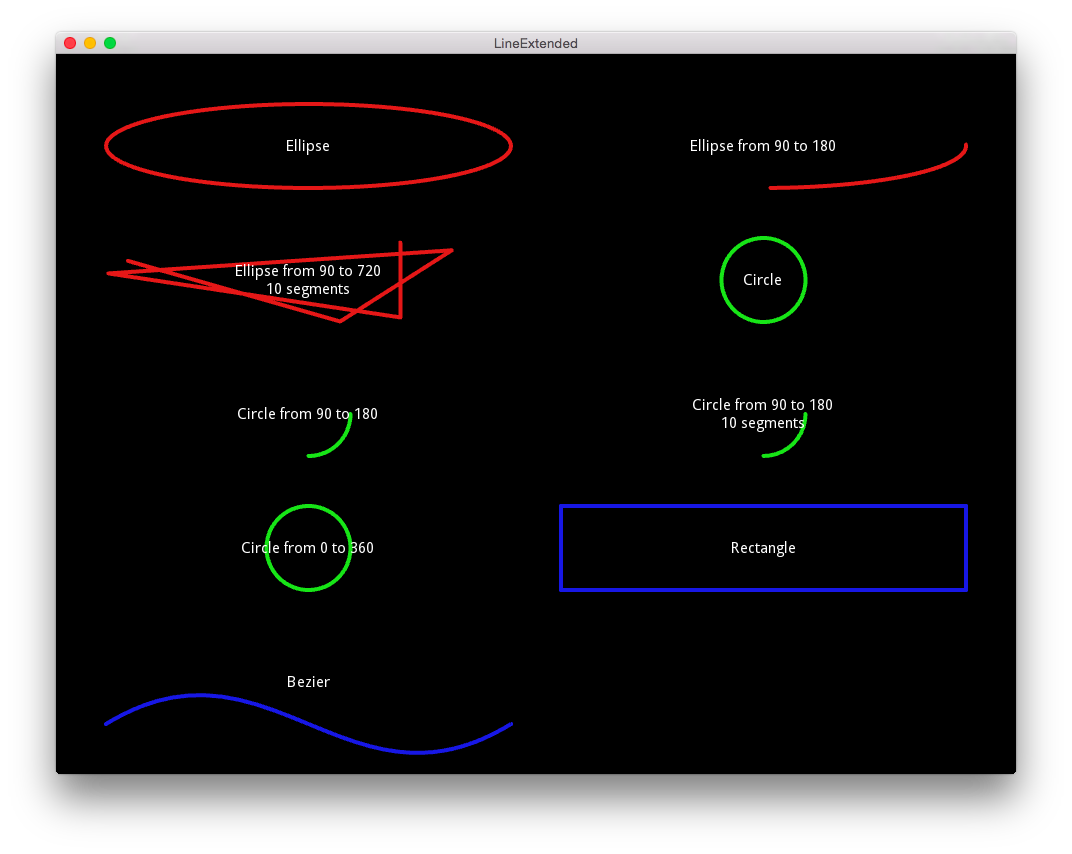
Lines Extended Demo
This demonstrates how to use the extended line drawing routines such as circles, ellipses, and rectangles. You should see a static image of labelled shapes on the screen. |
|
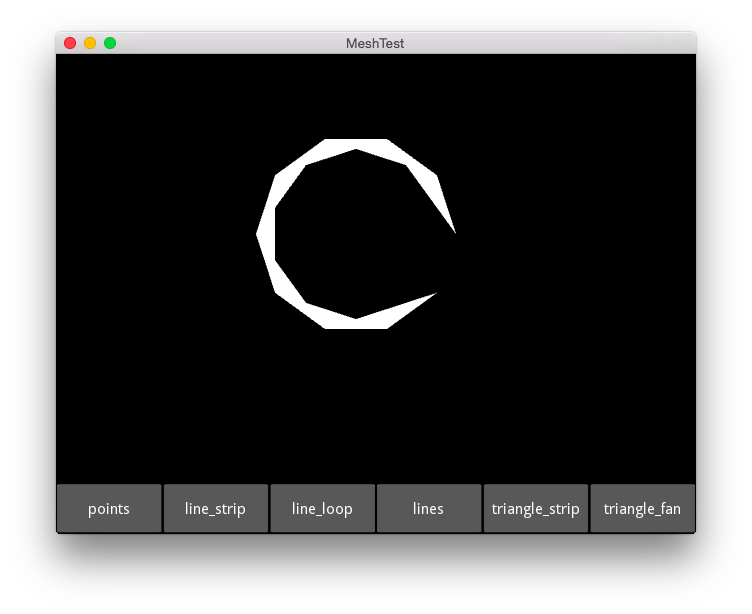
Mesh test
This demonstrates the use of a mesh mode to distort an image. You should see a line of buttons across the bottom of a canvas. Pressing them displays the mesh, a small circle of points, with different mesh.mode settings. |
|
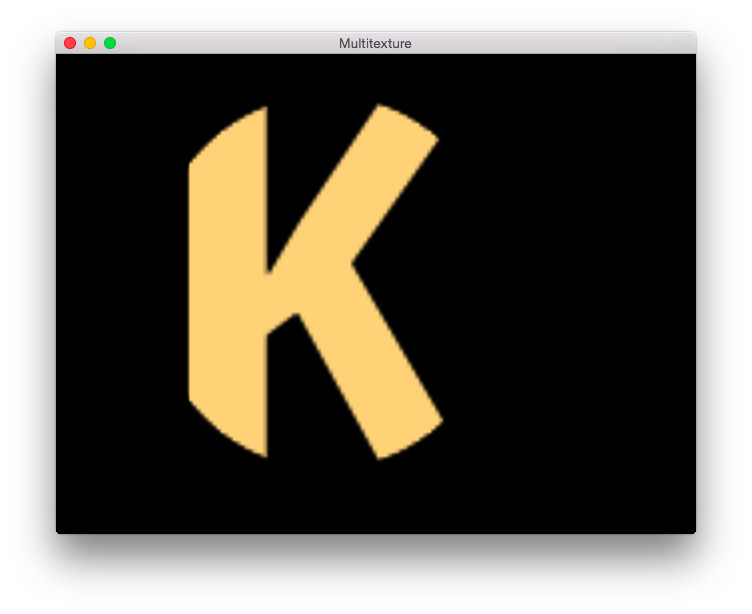
Multitexture Example
This example blends two textures: the image mtexture1.png of the letter K and the image mtexture2.png of an orange circle. You should see an orange K clipped to a circle. It uses a custom shader, written in glsl (OpenGL Shading Language), stored in a local string. Note the image mtexture1.png is a white ‘K’ on a transparent background, which makes it hard to see. |
|
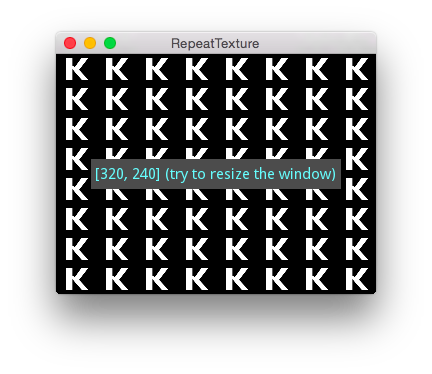
Repeat Texture on Resize
This examples repeats the letter ‘K’ (mtexture1.png) 64 times in a window. You should see 8 rows and 8 columns of white K letters, along a label showing the current size. As you resize the window, it stays an 8x8. This example includes a label with a colored background. Note the image mtexture1.png is a white ‘K’ on a transparent background, which makes it hard to see. |
|
Rotation Example
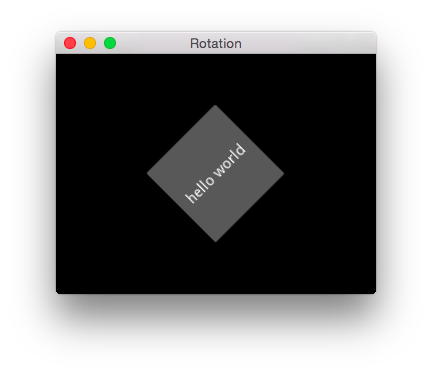
This example rotates a button using PushMatrix and PopMatrix. You should see a static button with the words ‘hello world’ rotated at a 45 degree angle. |
|
Stencil demo
This is a test of the stencil graphics instruction inside the stencil view widget. When you use a stencil, nothing will be drawn outside the bounding box. All the graphics will draw only in the stencil view. You can “draw” a stencil view by touch & draw. The touch down will set the position, and the drag will set the size. |
|
Tesselate Demonstration
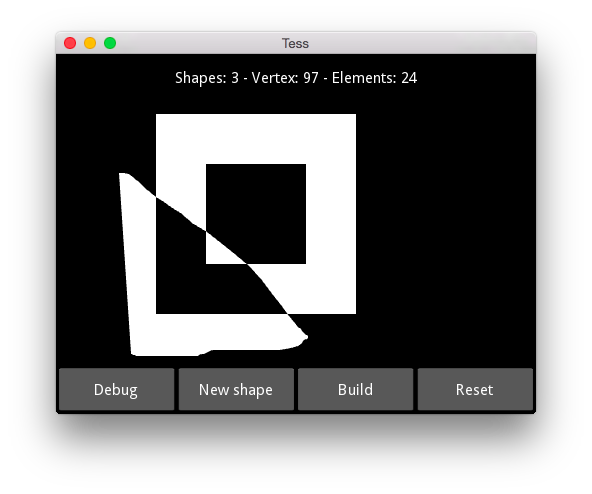
This demonstrates the experimental library for tesselating polygons. You should see a hollow square with some buttons below it. You can click and drag to create additional shapes, watching the number of vertexes and elements at the top of the screen. The ‘debug’ button toggles showing the mesh in different colors. |
|
Texture Wrapping and Coordinates Example
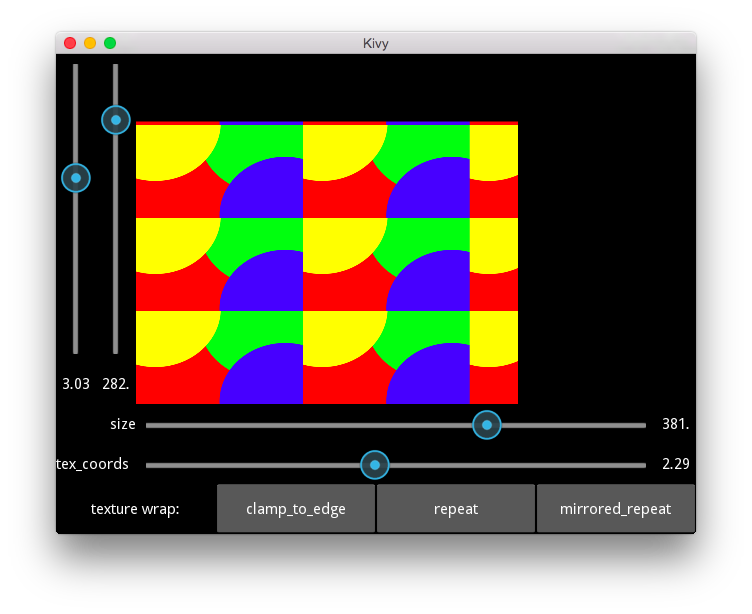
This example changes texture properties and the properties of its containing rectangle. You should see some a multicolored texture with sliders to the left and below and buttons at the bottom of the screen. The image texture_example_image.png is rendered into the rectangle. Sliders change the number of copies of the texture (the tex_coords), the size of enclosing rectangle (the taw_height and taw_width) while the buttons change how the texture is rendered when more than one copy is in the rectangle (the texture_wrap). |
|
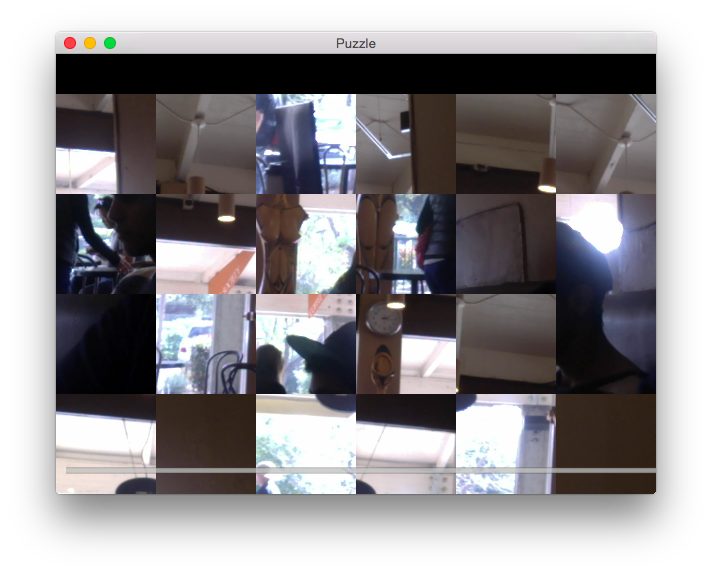
Shuffled Camera Feed Puzzle
This demonstrates using Scatter widgets with a live camera. You should see a shuffled grid of rectangles that make up the camera feed. You can drag the squares around to see the unscrambled camera feed or double click to scramble the grid again. |
|
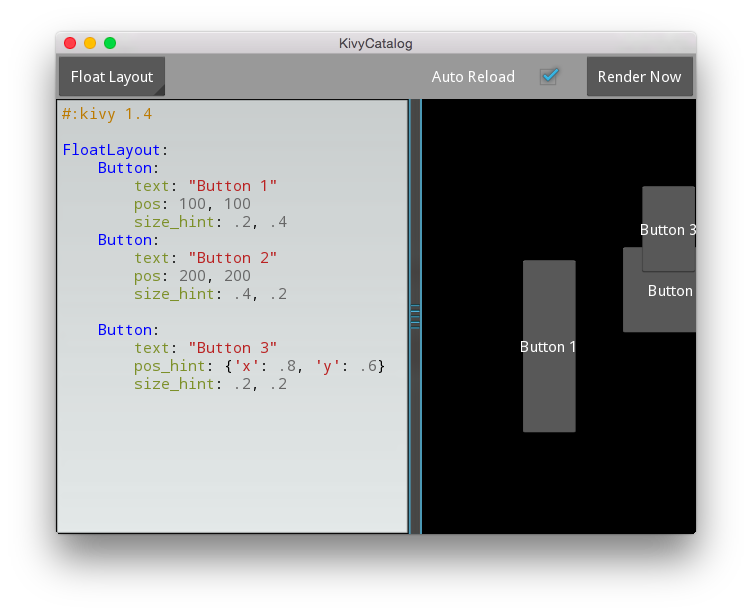
Kivy Catalog
The Kivy Catalog viewer showcases widgets available in Kivy and allows interactive editing of kivy language code to get immediate feedback. You should see a two panel screen with a menu spinner button (starting with ‘Welcome’) and other controls across the top.The left pane contains kivy (.kv) code, and the right side is that code rendered. You can edit the left pane, though changes will be lost when you use the menu spinner button. The catalog will show you dozens of .kv examples controlling different widgets and layouts. The catalog’s interface is set in the file kivycatalog.kv, while the interfaces for each menu option are set in containers_kvs directory. To add a new .kv file to the Kivy Catalog, add a .kv file into the container_kvs directory and reference that file in the ScreenManager section of kivycatalog.kv. Known bugs include some issue with the drop |
|
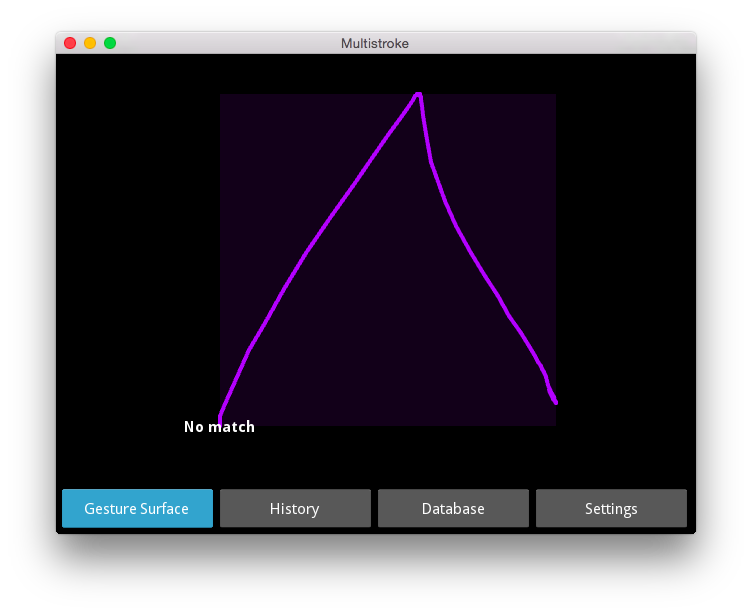
Multistroke Recognition Database Demonstration
This application records gestures and attempts to match them. You should see a black drawing surface with some buttons across the bottom. As you make a gesture on the drawing surface, the gesture will be added to the history and a match will be attempted. If you go to the history tab, name the gesture, and add it to the database, then similar gestures in the future will be recognized. You can load and save databases of gestures in .kg files. This demonstration code spans many files, with this being the primary file. The information pop- up (‘No match’) comes from the file helpers.py. The history pane is managed in the file historymanager.py and described in the file historymanager.kv. The database pane and storage is managed in the file gesturedatabase.py and the described in the file gesturedatabase.kv. The general logic of the sliders and buttons are in the file settings.py and described in settings.kv. but the actual settings pane is described in the file multistroke.kv and managed from this file. |
|
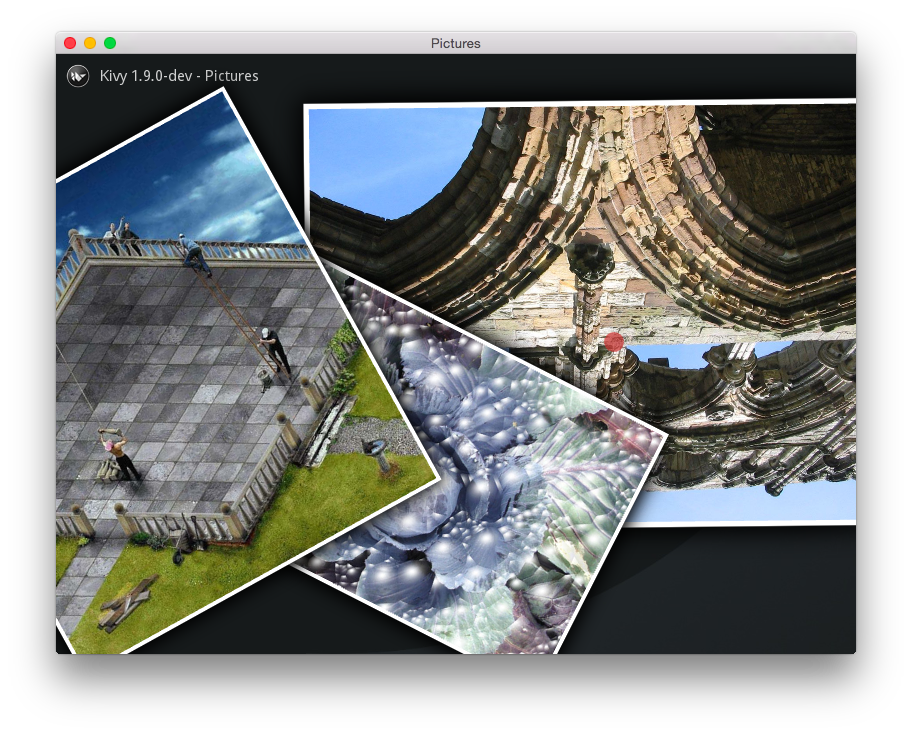
Basic Picture Viewer
This simple image browser demonstrates the scatter widget. You should see three framed photographs on a background. You can click and drag the photos around, or multi-touch to drop a red dot to scale and rotate the photos. The photos are loaded from the local images directory, while the background picture is from the data shipped with kivy in kivy/data/images/background.jpg. The file pictures.kv describes the interface and the file shadow32.png is the border to make the images look like framed photographs. Finally, the file android.txt is used to package the application for use with the Kivy Launcher Android application. For Android devices, you can copy/paste this directory into /sdcard/kivy/pictures on your Android device. The images in the image directory are from the Internet Archive, https://archive.org/details/PublicDomainImages, and are in the public domain. |
|
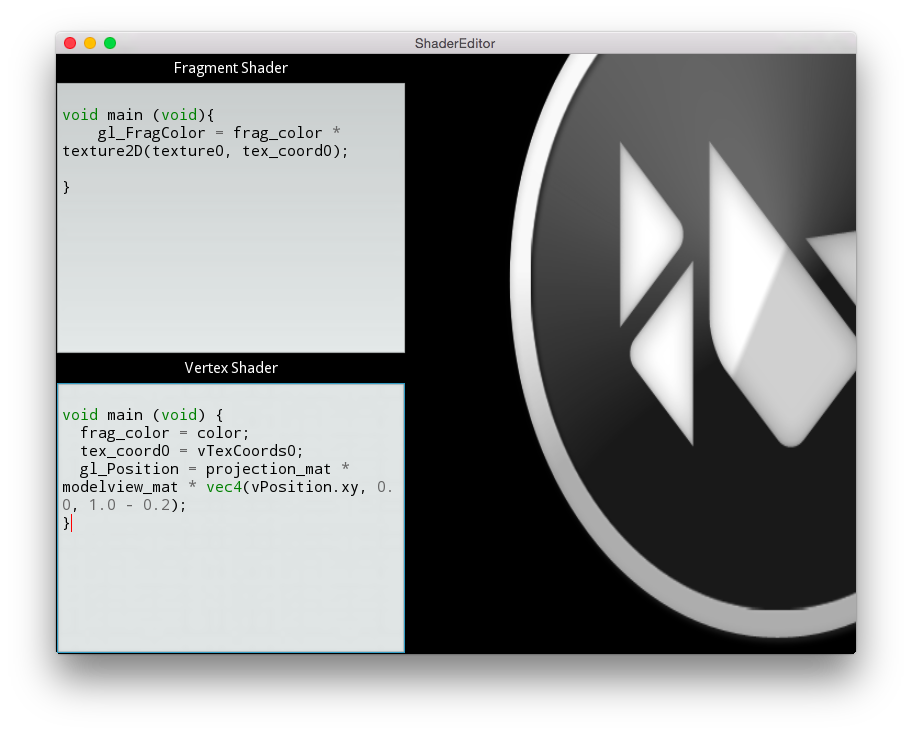
Live Shader Editor
This provides a live editor for vertex and fragment editors. You should see a window with two editable panes on the left and a large kivy logo on the right.The top pane is the Vertex shader and the bottom is the Fragment shader. The file shadereditor.kv describes the interface. On each keystroke to either shader, declarations are added and the shaders are compiled. If there are no errors, the screen is updated. Otherwise, the error is visible as logging message in your terminal. |
|
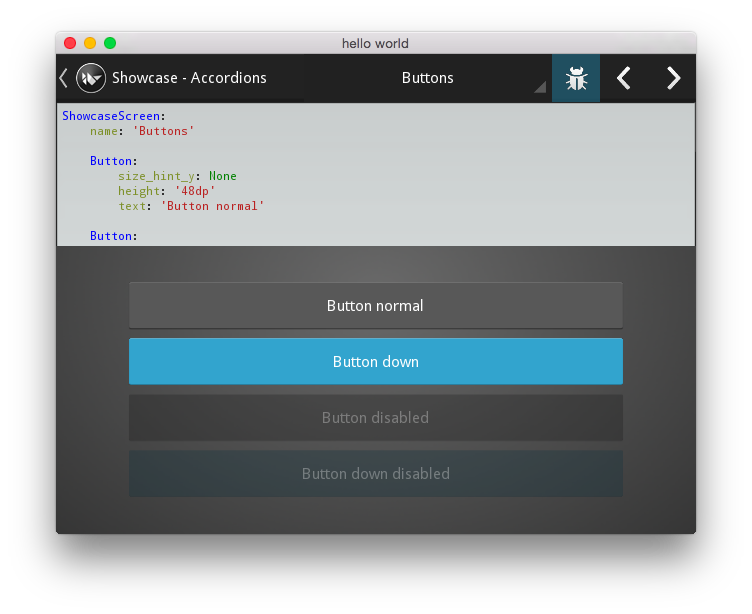
Showcase of Kivy Features
This showcases many features of Kivy. You should see a menu bar across the top with a demonstration area below. The first demonstration is the accordion layout. You can see, but not edit, the kv language code for any screen by pressing the bug or ‘show source’ icon. Scroll through the demonstrations using the left and right icons in the top right or selecting from the menu bar. The file showcase.kv describes the main container, while each demonstration pane is described in a separate .kv file in the data/screens directory. The image data/background.png provides the gradient background while the icons in data/icon directory are used in the control bar. The file data/faust_github.jpg is used in the Scatter pane. The icons are from http://www.gentleface.com/free_icon_set.html and licensed as Creative Commons - Attribution and Non-commercial Use Only; they sell a commercial license. The file android.txt is used to package the application for use with the Kivy Launcher Android application. For Android devices, you can copy/paste this directory into /sdcard/kivy/showcase on your Android device. |
|
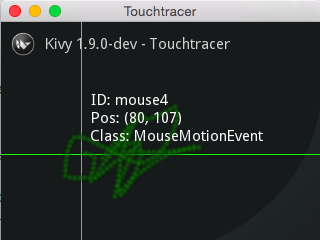
Touch Tracer Line Drawing Demonstration
This demonstrates tracking each touch registered to a device. You should see a basic background image. When you press and hold the mouse, you should see cross-hairs with the coordinates written next to them. As you drag, it leaves a trail. Additional information, like pressure, will be shown if they are in your device’s touch.profile. Note A function calculate_points handling the points which will be drawn has by default implemented a delay of 5 steps. To get more precise visual results lower the value of the optional keyword argument steps. This program specifies an icon, the file icon.png, in its App subclass. It also uses the particle.png file as the source for drawing the trails which are white on transparent. The file touchtracer.kv describes the application. The file android.txt is used to package the application for use with the Kivy Launcher Android application. For Android devices, you can copy/paste this directory into /sdcard/kivy/touchtracer on your Android device. |

